“Editor's Note: The game Interstellar has attracted much attention from developers due to its high-definition graphics, excellent rendering capabilities, and top-tier performance. Today, we are honored to invite the development team, gamemcu, to share their technical insights. We hope this will be helpful to everyone!
Q1: Could You Introduce This Game?
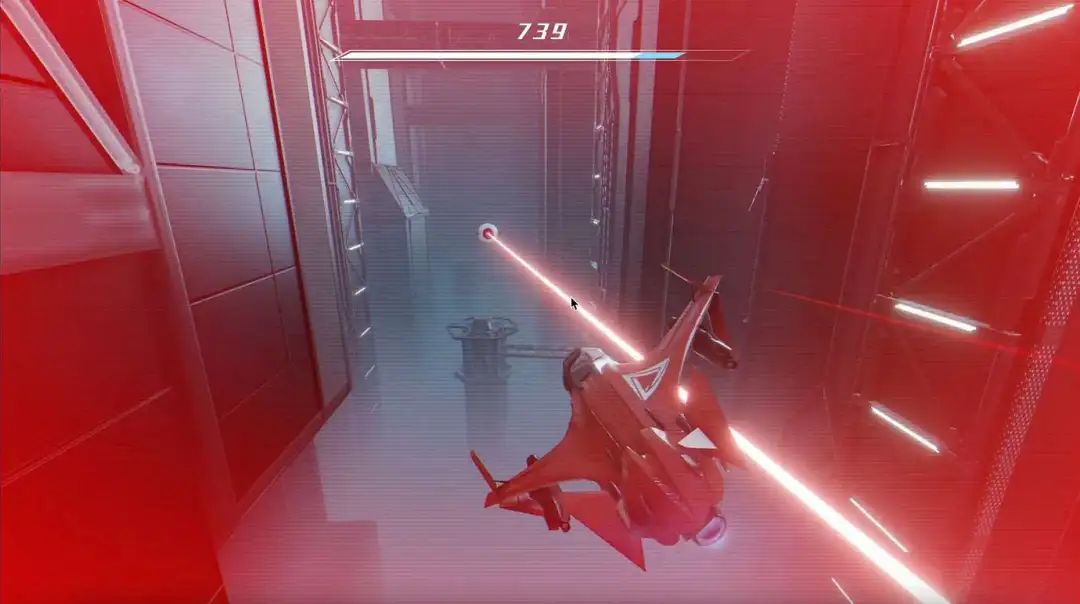
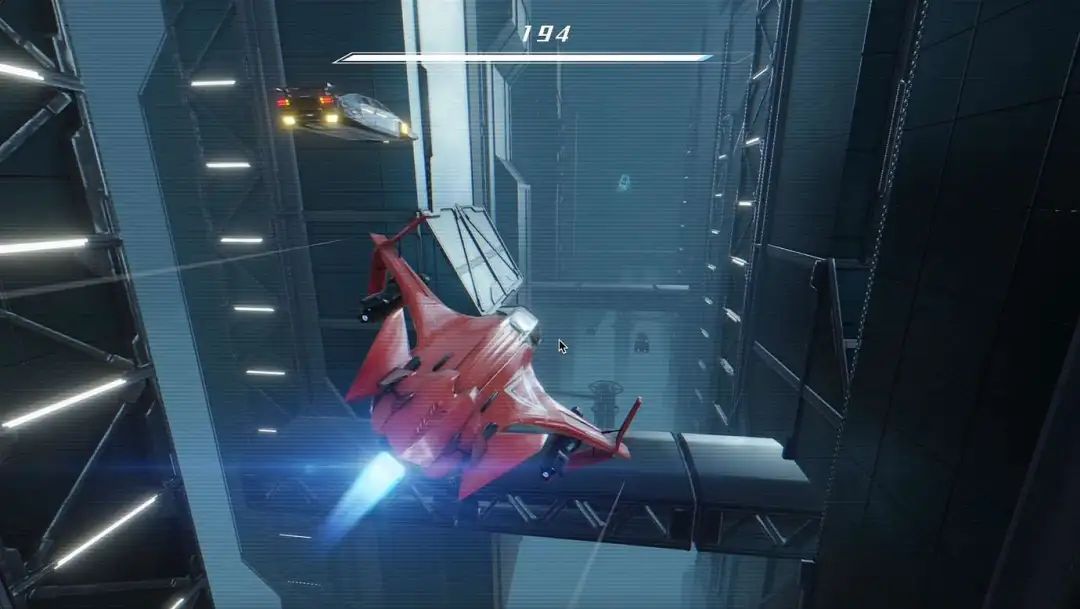
Interstellar is a next-generation flight simulation game with high-definition graphics and an immersive flying experience.
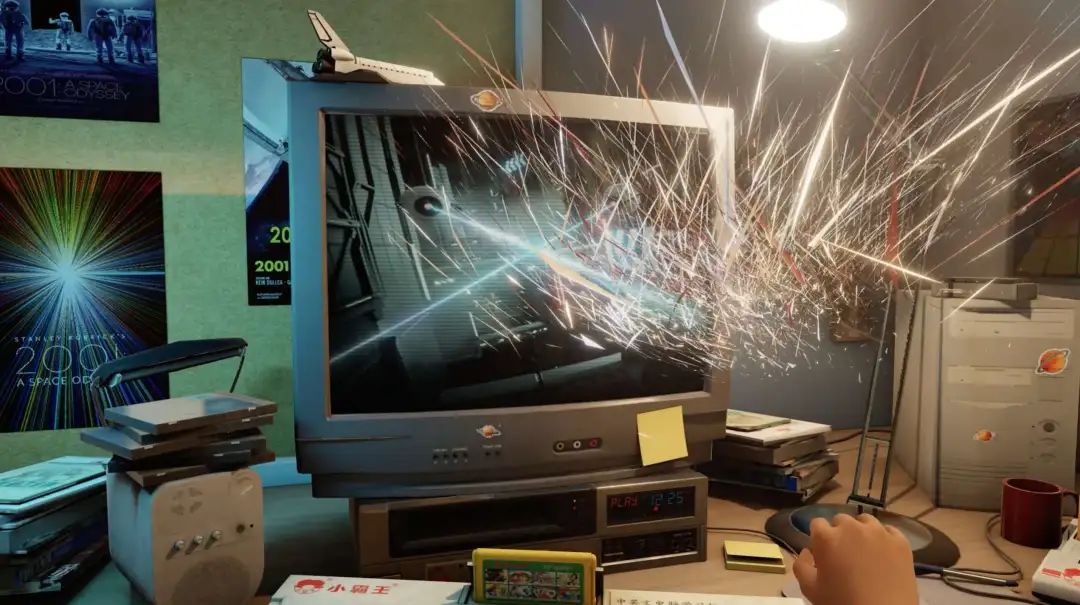
In the game, the toy in your palm transforms into a starship, embarking on a thrilling flight adventure through the TV.
You can try it out via the link below:
“Online Demo: https://gamemcu.com/fly
The project is open-source, and developers are welcome to download and modify it freely.
“Open-Source Repository: https://github.com/gamemcu/interstellar-next
Note: This project is based on Cocos Creator 3.8.3. Custom engine pipelines may not be compatible with newer versions, so upgrade with caution!
Q2: What Are the Technical Highlights of Interstellar?
This project primarily utilizes the following technologies:
-
Custom High-Definition Rendering Pipeline -
Refactored PBR Material System -
High-Quality Post-Processing -
Polygon-Based GPU Particle System -
High-Performance Collision Physics Simulation -
IK Simulation -
Sound Effect System Design -
Exponential Height Fog
The project's code structure is as follows:
cinetation // Camera controller for debugging
components // Custom components
controllers // Game controllers (camera, hand, spaceship, etc.)
datas // Game data
managers // Various managers
pipline-next // Custom HD pipeline + post-processing
statics // Static resources (textures, models)
resources // Dynamic resources (audio)
Q3: Any Technical Insights for Other Developers?
What I most want to share are the project's optimization techniques, which fall into two categories: Rendering Optimization and Interaction Optimization。
Rendering Optimization
1. Scene Rendering
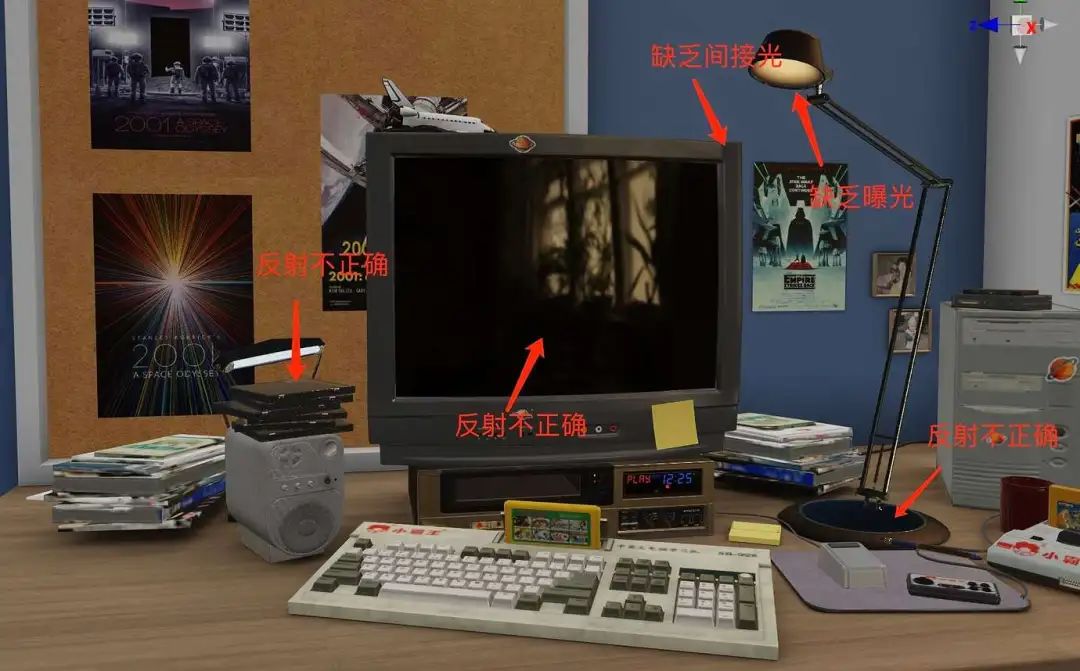
Dragging models and materials directly into the engine yields the effect shown above. While it looks decent, it still lacks realism.
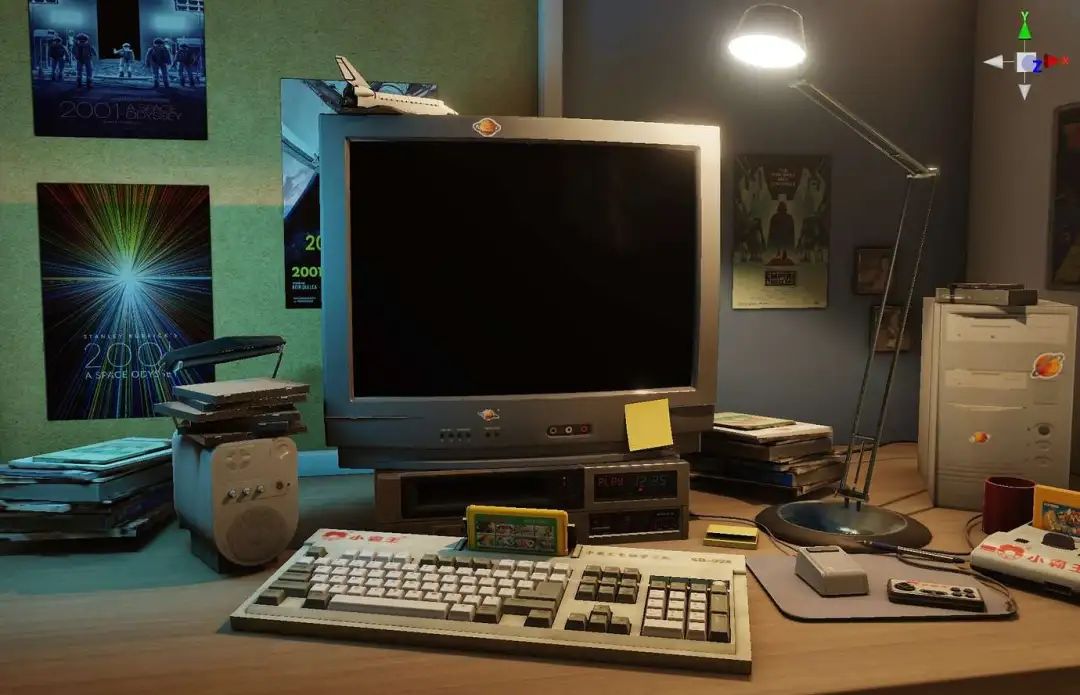
The main issues lie in indirect lighting, exposure and reflections. The optimized results are as follows:
Optimizations included:
-
Custom high-definition rendering pipeline (enabling float output to support color values >1) -
Adding FXAA (optimized version for sharper edges), Bloom (Mipmap Blur-based), and Tonemap (fitted function for better performance) -
Custom PBR materials (simplified lighting calculations, retained IBL, and introduced single-scattering approximation to avoid overly dark metallic surfaces) -
Support for custom-baked lightmaps -
Extended light probes with support for custom environment maps (simulating environmental reflections)
2. Hand Rendering

After the above optimizations, the hand's lighting effects are already quite realistic.
Initially, I tried SSS (Subsurface Scattering), but later found that simply baking the lighting was sufficient, with little visual difference in this project.
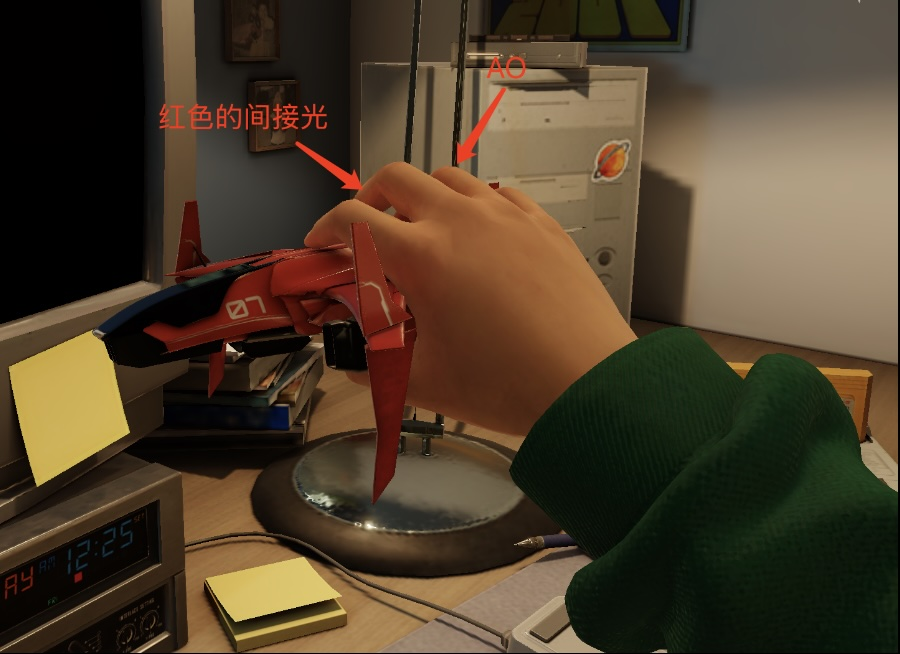
Adding indirect light (via baked textures) makes the hand rendering look even more realistic. Additionally, finger-pinching effects can be simulated by dynamically adjusting the intensity of indirect light to mimic shadow changes.
With this, the main scene's rendering optimizations are complete!
Interaction Optimization
1. Dynamic Hand Motion Simulation
Making the hand move subtly while idle enhances realism—but how?

The project uses multiple Perlin noise layers to generate smoother fractal Brownian motion (FBM), assigning different noise amplitudes to the shoulder, elbow, and wrist joints to simulate human-like breathing and swaying (while K-animation was considered, noise-based methods proved simpler).
Players can interact by controlling hand movements, achieved via bone weighting and dynamic joint rotation control.
Additionally, to streamline skeletal animation editing, a Cocos trick was used:
Replace SkeletalAnimation with Animation, allowing skeletal animations to be edited in Cocos' animation editor and dynamically adjusting grab animation speeds—very convenient.
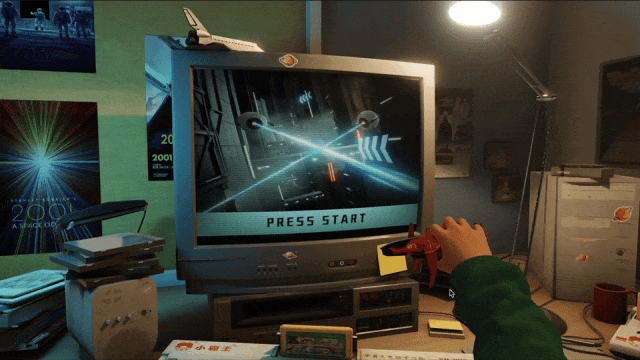
TV screen rendering is achieved via a UI camera. Simple laser displacement and rotation create a 3D effect without re-rendering 3D scenes, saving significant performance.
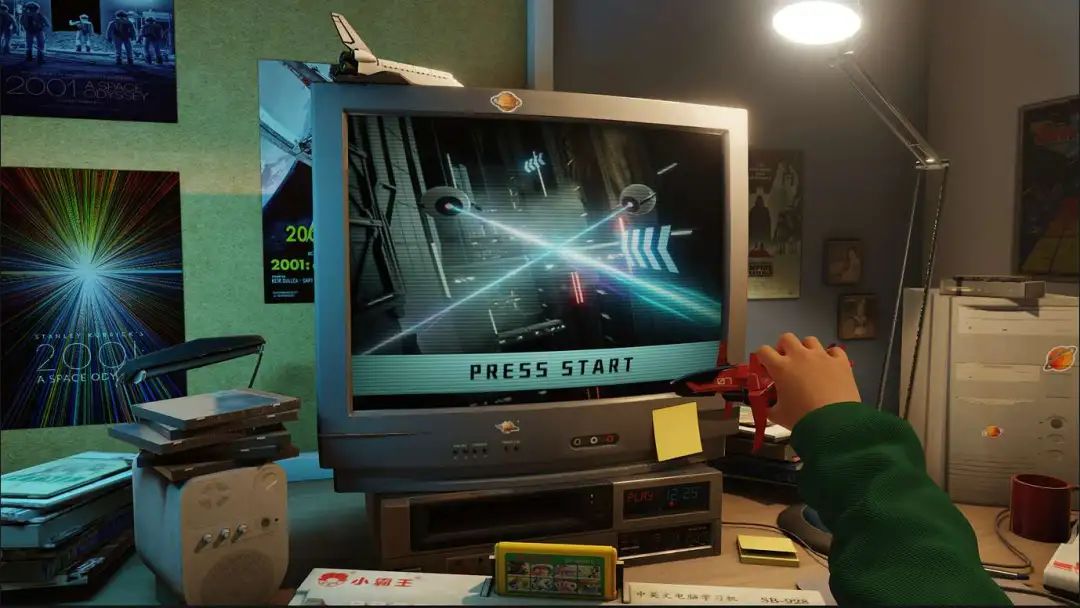
To enhance the realism of the old TV, scanline effects and vignetting were added.
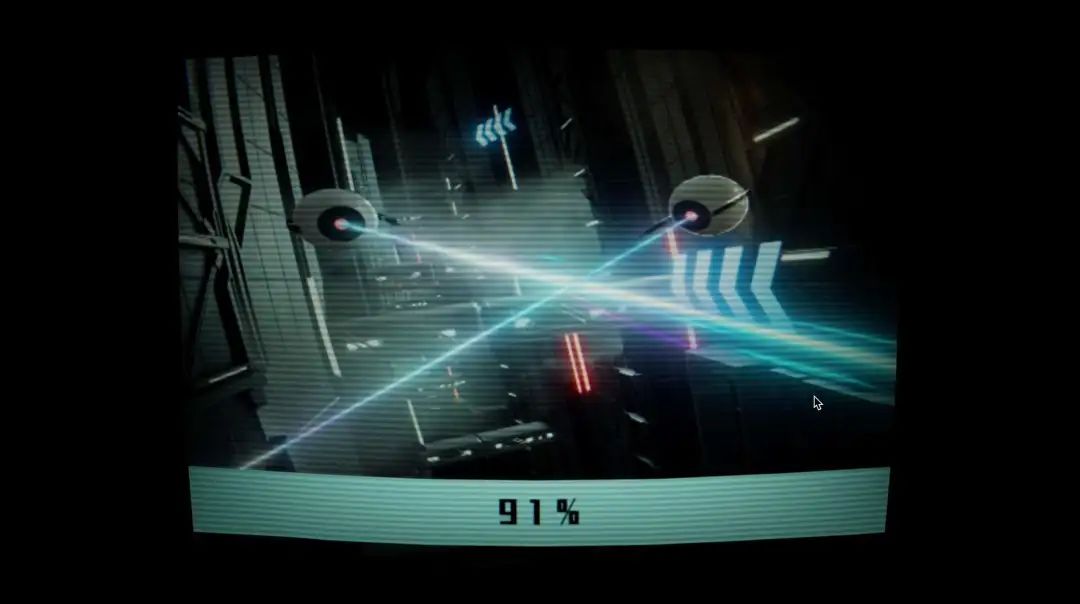
Post-processing also includes scanline effects, easily implemented in the fragment shader using a sine function.
However, a direct implementation was too performance-heavy, so I wrote an approximation function::
0.9+1.03*mix(-y*y,y*(y-2.)+1.,y) replaces
0.9+0.1*sin(y*500.0)
This brought massive performance gains (super useful—feel free to copy!).
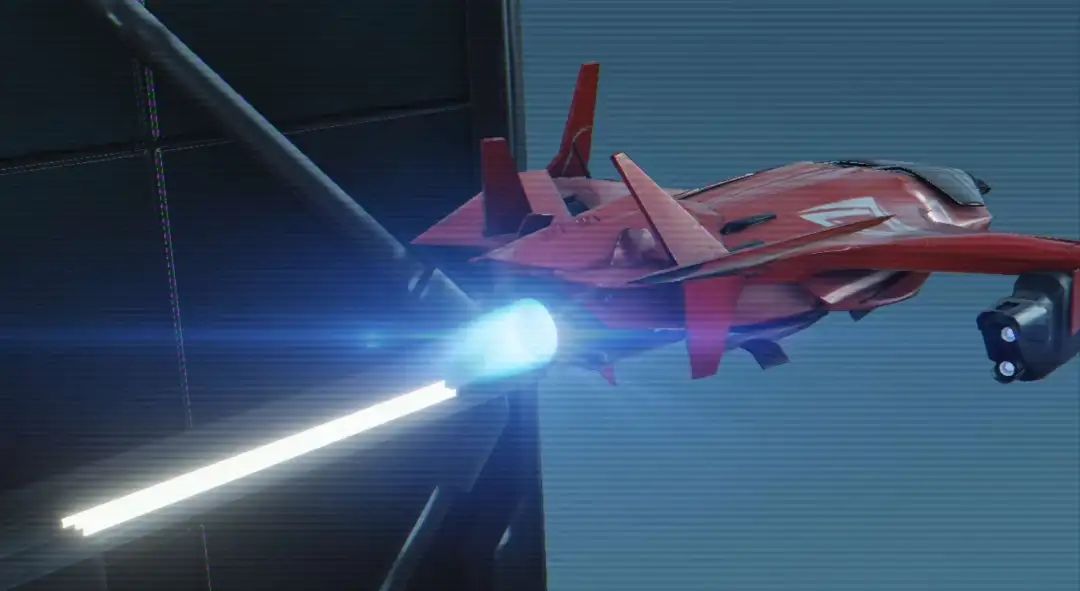
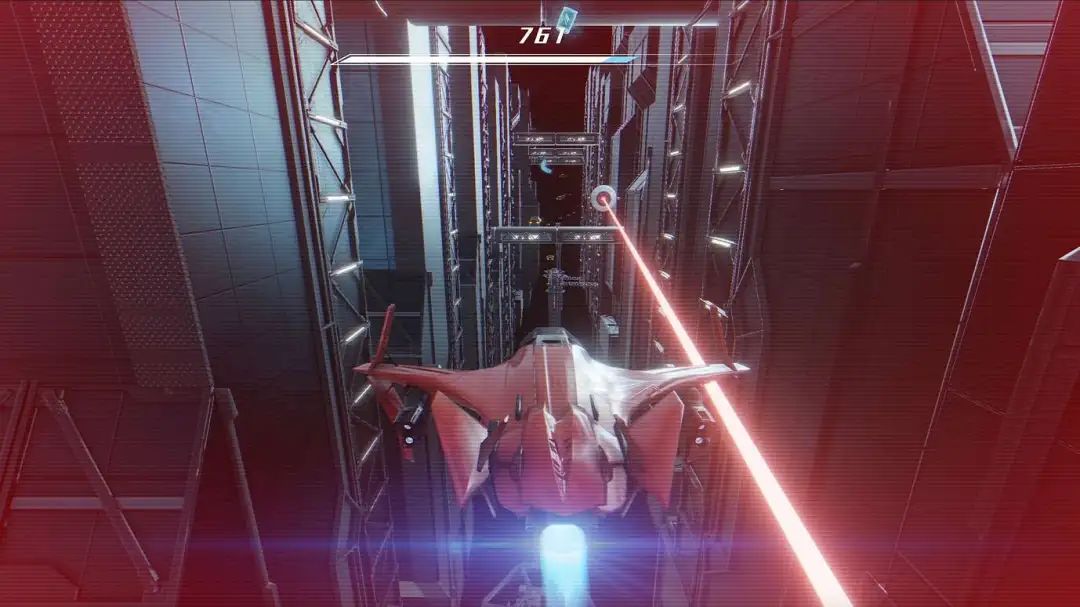
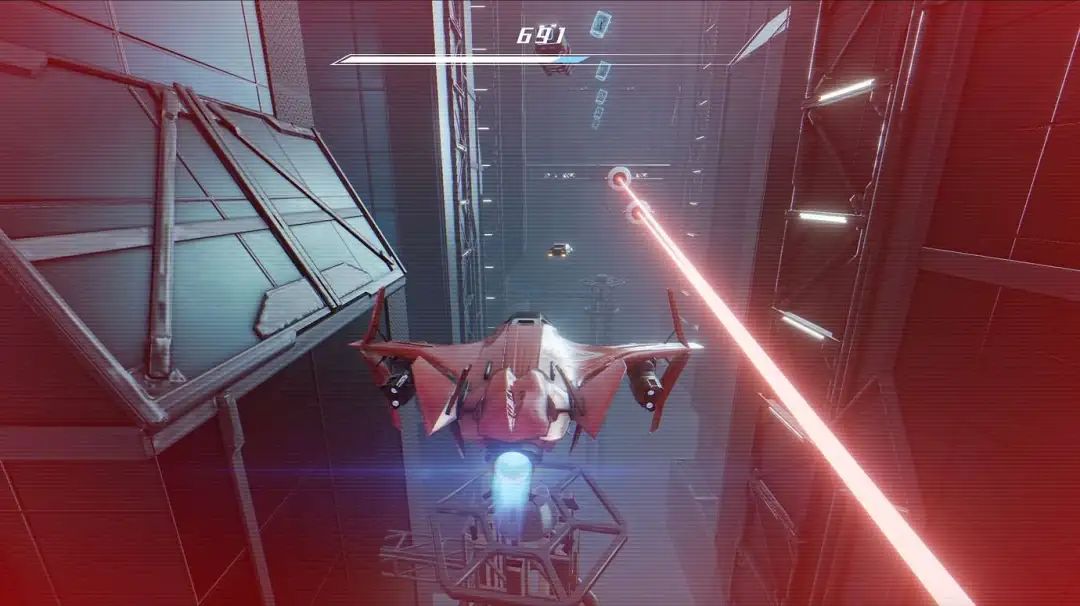
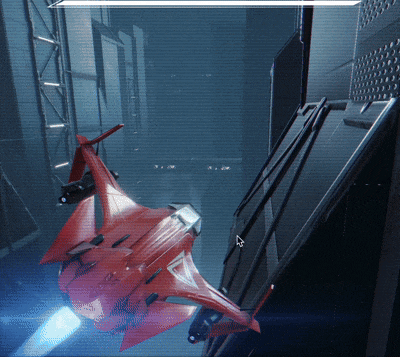
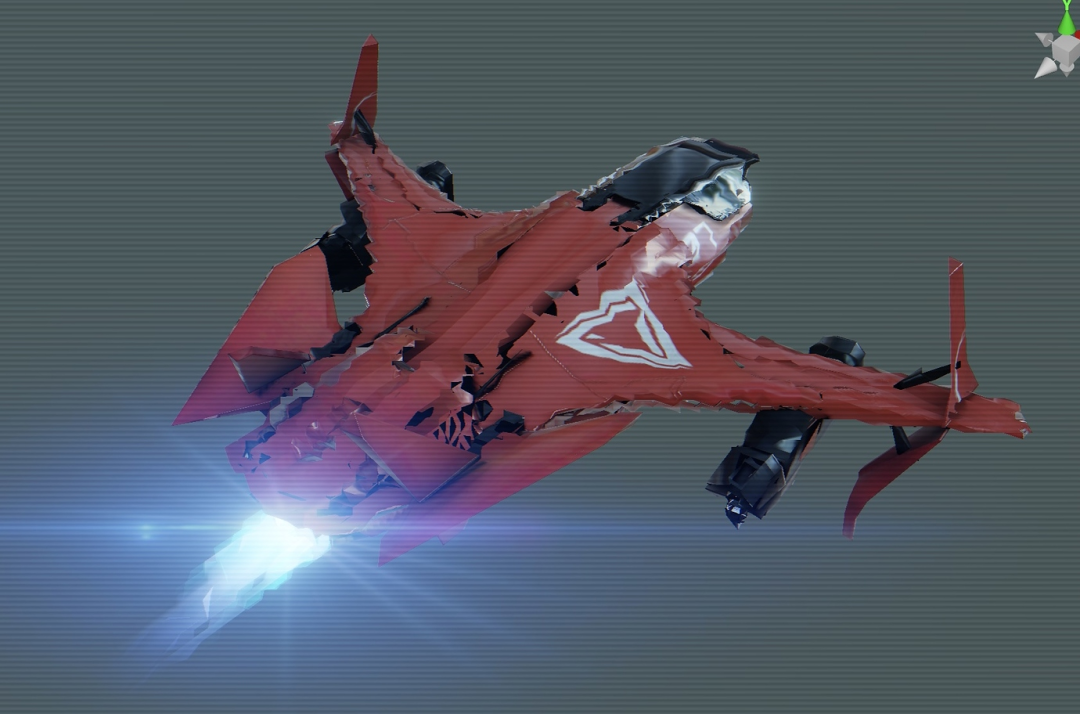
2. Realistic Engine Flames
Achieving realistic engine flames posed many challenges. Various approaches were tried, such as texture flow and video playback, but either the results were unsatisfactory or performance costs were too high.
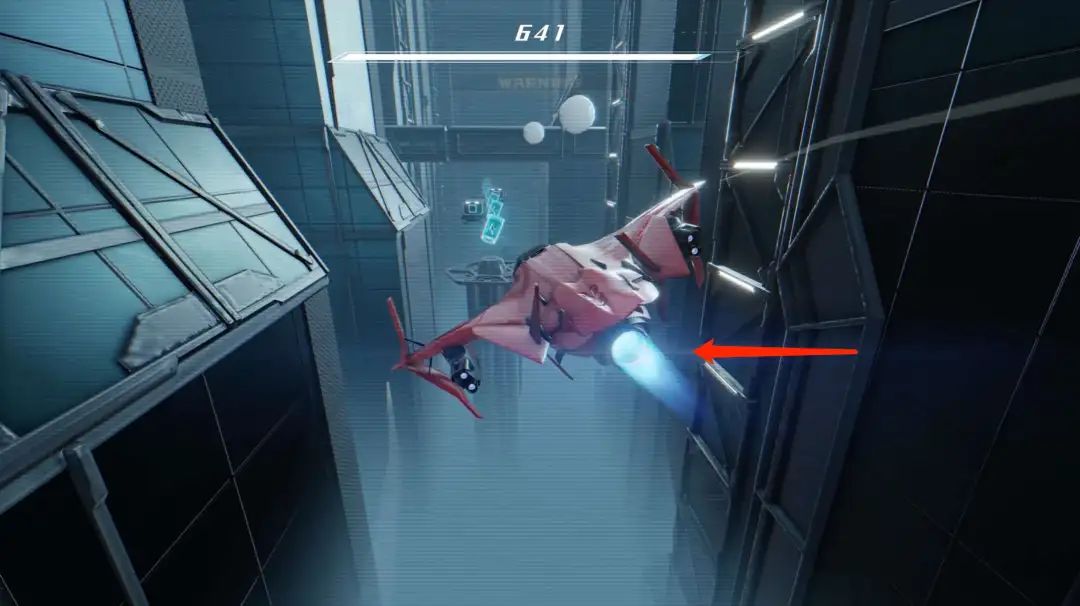
Ultimately, we achieved the effect via multi-layered models + vertex offset + noise + color blending.
Lens flare effects were also added, dynamically changing with camera rotation. Refer to flame.effect for implementation details.
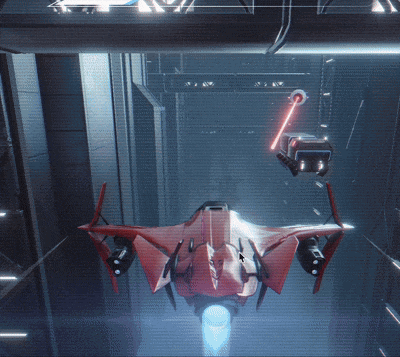
3. Polygon-Based GPU Particle System
The game's particle effects are eye-catching, and many may wonder how they were made. Below is the principle—see initParticleMesh for specifics.
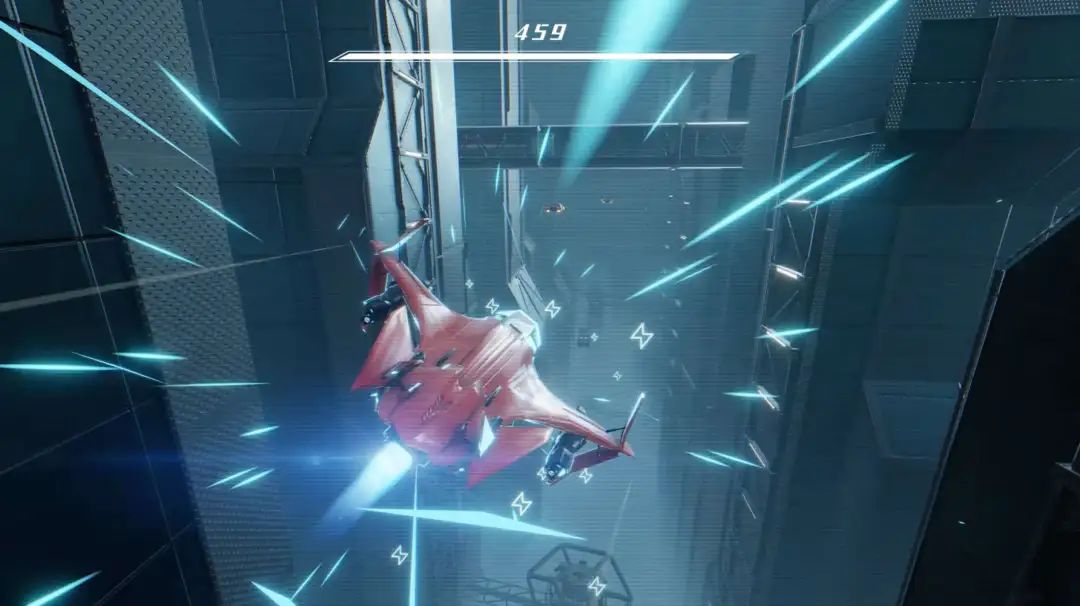
The battery-collection effect consists of multiple stages: sweeping light + explosion particles + collection particles.
The sweeping light uses Fresnel segmented offset, while explosion particles use a conventional particle system.
The collection particles are more complex—they're actually a model, similar to the spaceship's composite effect but with different shader processing.
Particle implementation involves four steps:
-
Split the model faces, remove indices, calculate the centroid of each face, and write Bézier curve parameters.
-
In the vertex shader, offset vertex positions relative to the centroid along the Bézier curve.
-
Add noise to randomly offset vertices along the curve, creating a stretching effect.
-
In the fragment shader, adjust color, AO, and reflections based on the particle's lifecycle.
“Curious about the battery effect? The battery consists of three parts: the shell, outer glow, and inner lightning. The shell and glow are just a camera-facing image, while the lightning is a model—peak optimization!
4. Exponential Height Fog (Beautification + Anti-Aliasing)
Here's the scene without fog—I had to show this ugly image to highlight the impact of exponential height fog.
This is the effect of exponential fog—much cleaner, with reduced aliasing, but the scene lacks depth.
With exponential height fog, the scene is not only cleaner but also gains depth and atmosphere.
5. Diverse Physics Collision Simulation
To make collisions more realistic, different collision objects use different handling methods, and engine flame effects are scaled accordingly.
6. Solving Model Z-Fighting Issues
As my first runner game, model z-fighting issues troubled me for a while.
After investigation, I found it wasn't an engine problem but a GPU floating-point precision issue.
Solutions:
-
Change "precision mediump float;" to "precision highp float;"in the vertex shader—otherwise, z-fighting occurs beyond 100m. -
Reset the spaceship to the starting point after moving beyond 100m, translating all scene objects relative to it (ensure proper effect positioning).
Summary
Due to space constraints, many details weren't covered. We encourage everyone to explore the source code for more interesting implementations.
“Reposting the open-source repository: https://github.com/gamemcu/interstellar-next
From the pipeline to materials and various tricks, this project polished countless details to deliver a visually and experientially satisfying result.
Q4: Finally, Could You Introduce the Team?
We are GameMCU, a team dedicated to exploring and innovating user experiences. We hope to bring more outstanding works in the future!
Closing
Thank you to the GameMCU team for the interview! We hope this project's code and insights will benefit more developers.